Since the beginning of our cooperation in 2005, the company has repeatedly confirmed its knowledge and professionalism in the solutions offered.
Ryszard Bedynek
Head of IT Department
Search in blog:
5 tips to get the best furniture visualisations
We like sharing knowledge — the article below describes the methods for the best furniture visualisations. Interested? Let’s start!
DO YOU WORK WITH A CLIENT? MAKE IT EASY FOR THEM TO MAKE DECISIONS
Proper furniture presentation is one of the key design stages. Even the best and most advanced model of a piece of furniture, shown to the customer in a rough version, without materials and finishing, will not arouse so much interest and will make it difficult for them to imagine the final result. The furniture finishing type itself, e.g. mat or gloss, radically modifies its character, comfort of use and matching to a given room.
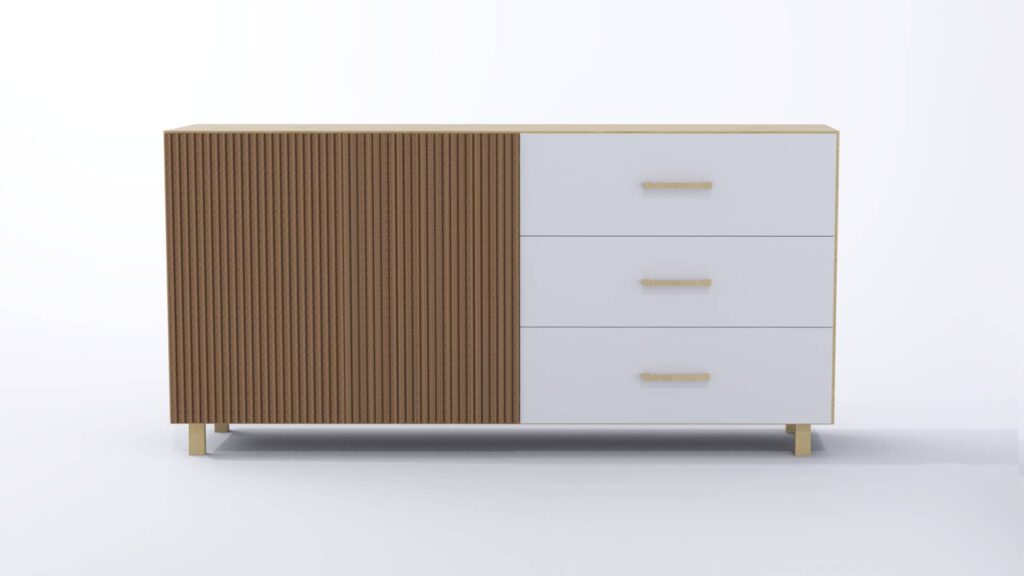
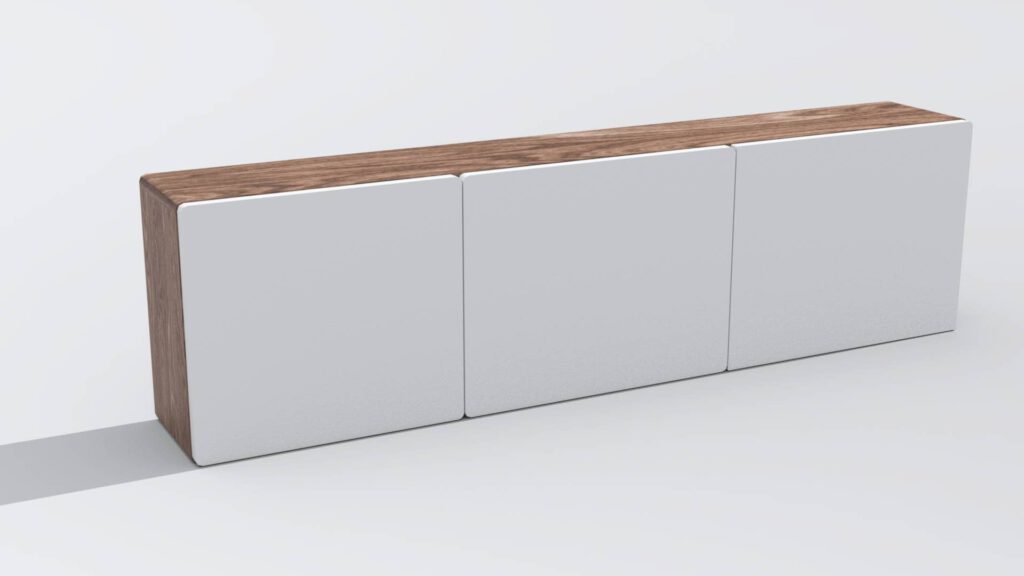
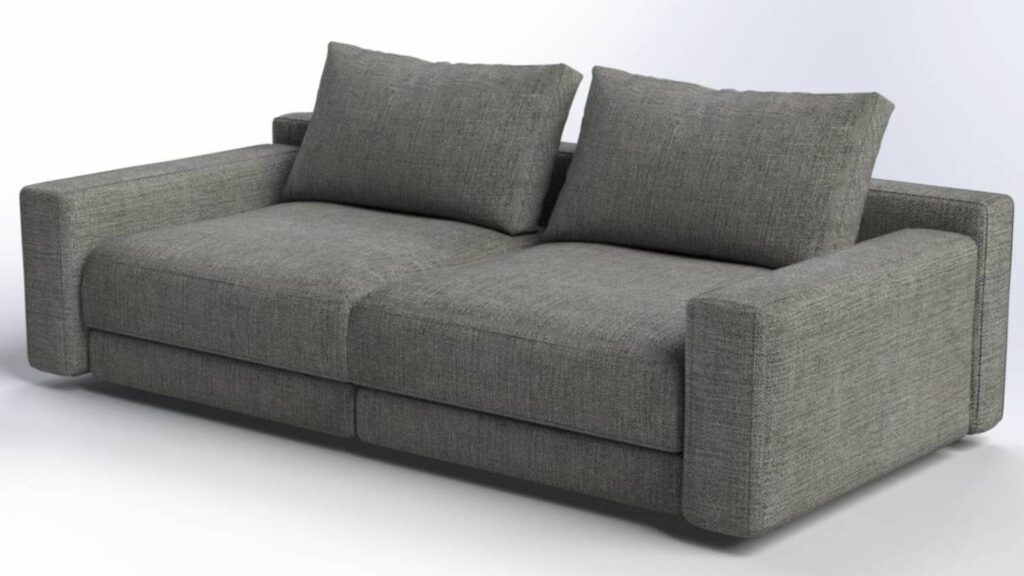
WHAT DISTINGUISHES A RENDER MADE IN VISUALIZE?
Working on furniture renders is very often associated with many hours of iteration calculations, complex alignment of cameras and lighting, and searching for proper textures.
 `
`
As a designer with several years of experience in developing visualisations, I will give you a few hints regarding their creation in the best environment, as far as I’m concerned: WOODEXPERT and SOLIDWORKS Visualize. What distinguishes rendering created using these programs?
- Fast and efficient work: visualisations presented in this article can be made within approx. 8 minutes.
- Ready-to-use environments: you can make use of ready scenes with pre-selected lighting and background — simply drag them to the main panel.
- Abundant material library: a library containing various materials at hand, such as wood, steel, fabrics and glass with dozen plus types of finishing — lose no time to set up and test additional appearance finishing parameters.
- Smooth work within the environment: preview of visualisations in real time and seamless editing and parameter setting are the features I value the most while designing. There is nothing so frustrating as even a few-minute delay when introducing changes to a model. While making renderings of even the most advanced furniture models imported from WOODEXPERT, there are simply no lags in Visualize.
PAY ATTENTION TO 5 ASPECTS
WOODEXPERT and SOLIDWORKS Visualize are featured with an extremely intuitive work environment. There are several tricks, however, that you may not know.
1. Set up a material legend already at the design stage.
An abundant content of the Visualize library may make you want to check different colour variants and at the same time extend work time. Before importing a model, it is worth making colour variants and a material legend in WOODEXPERT. This will allow for narrowing the colour range prior to rendering, and enable you to focus on enriching material finishing parameters.
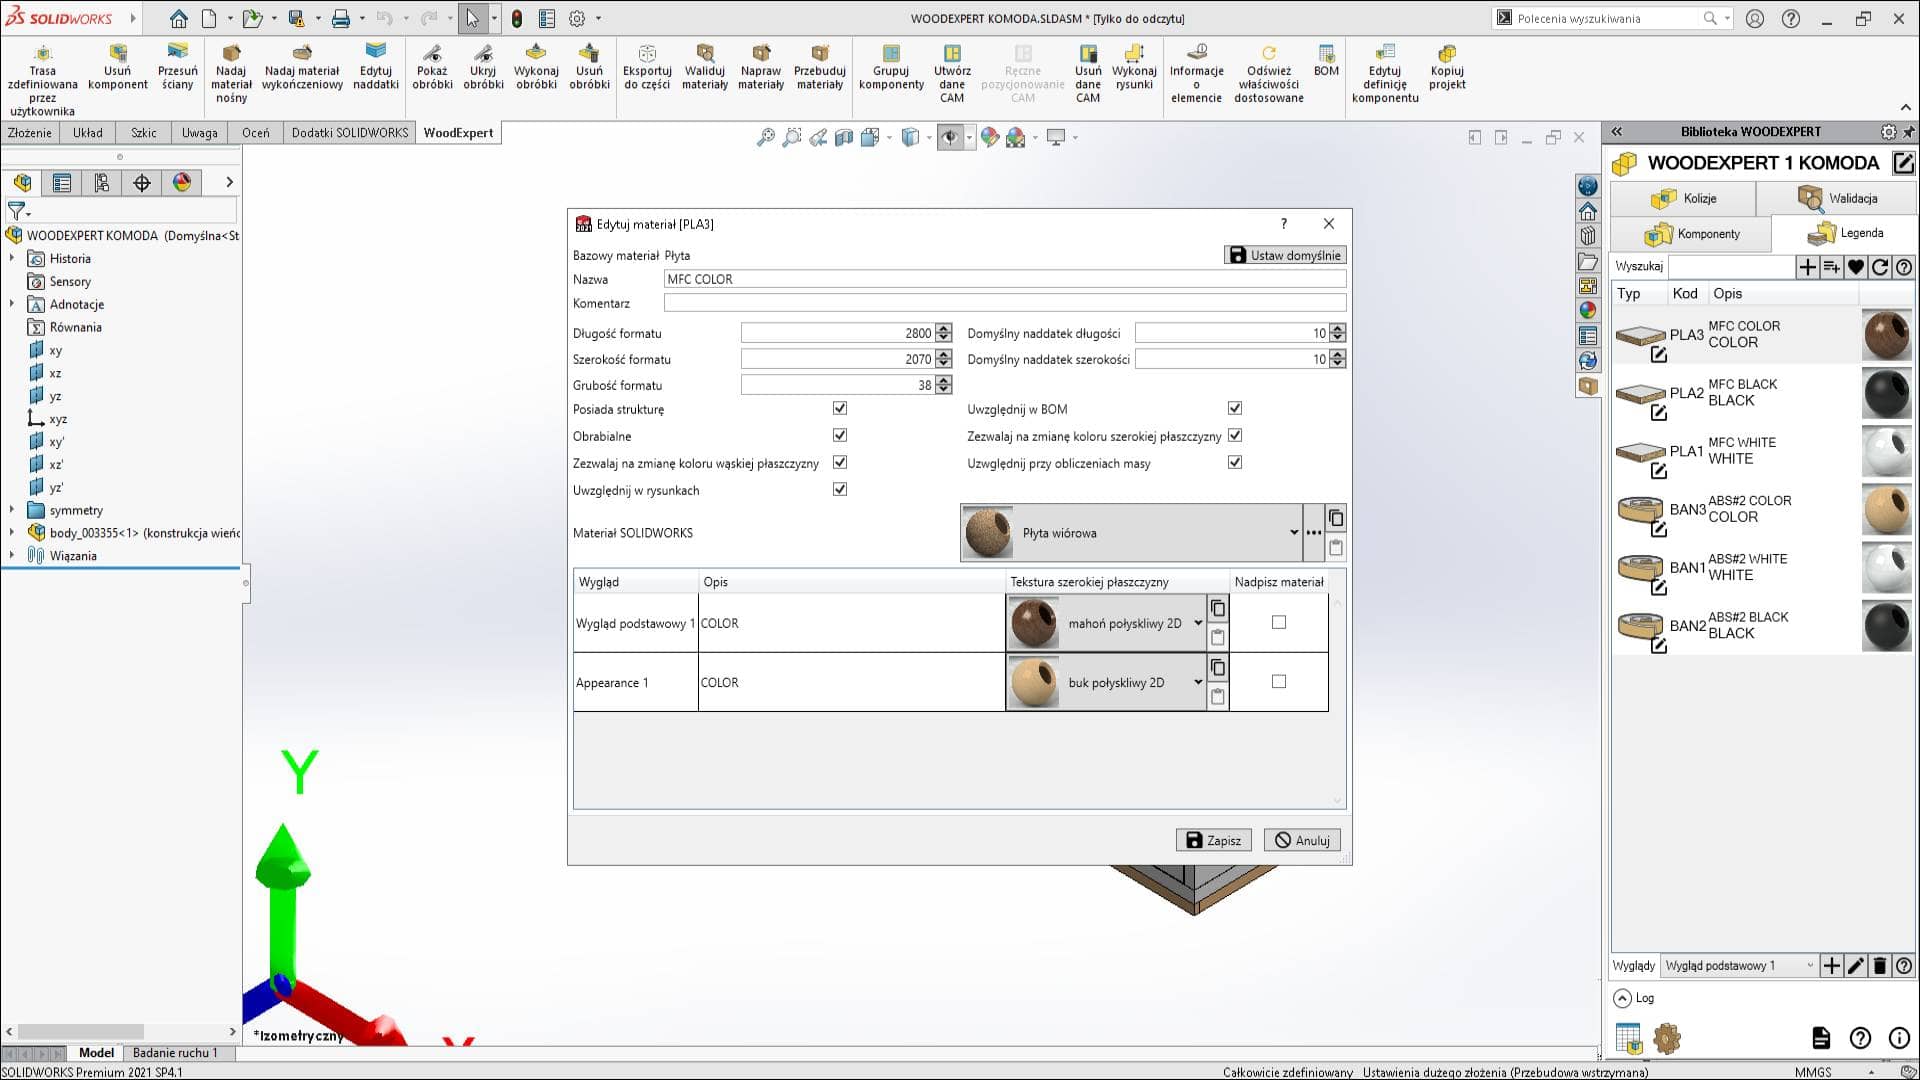
The material library in WOODEXPERT is used to determine appearance, panel types, veneers and more.
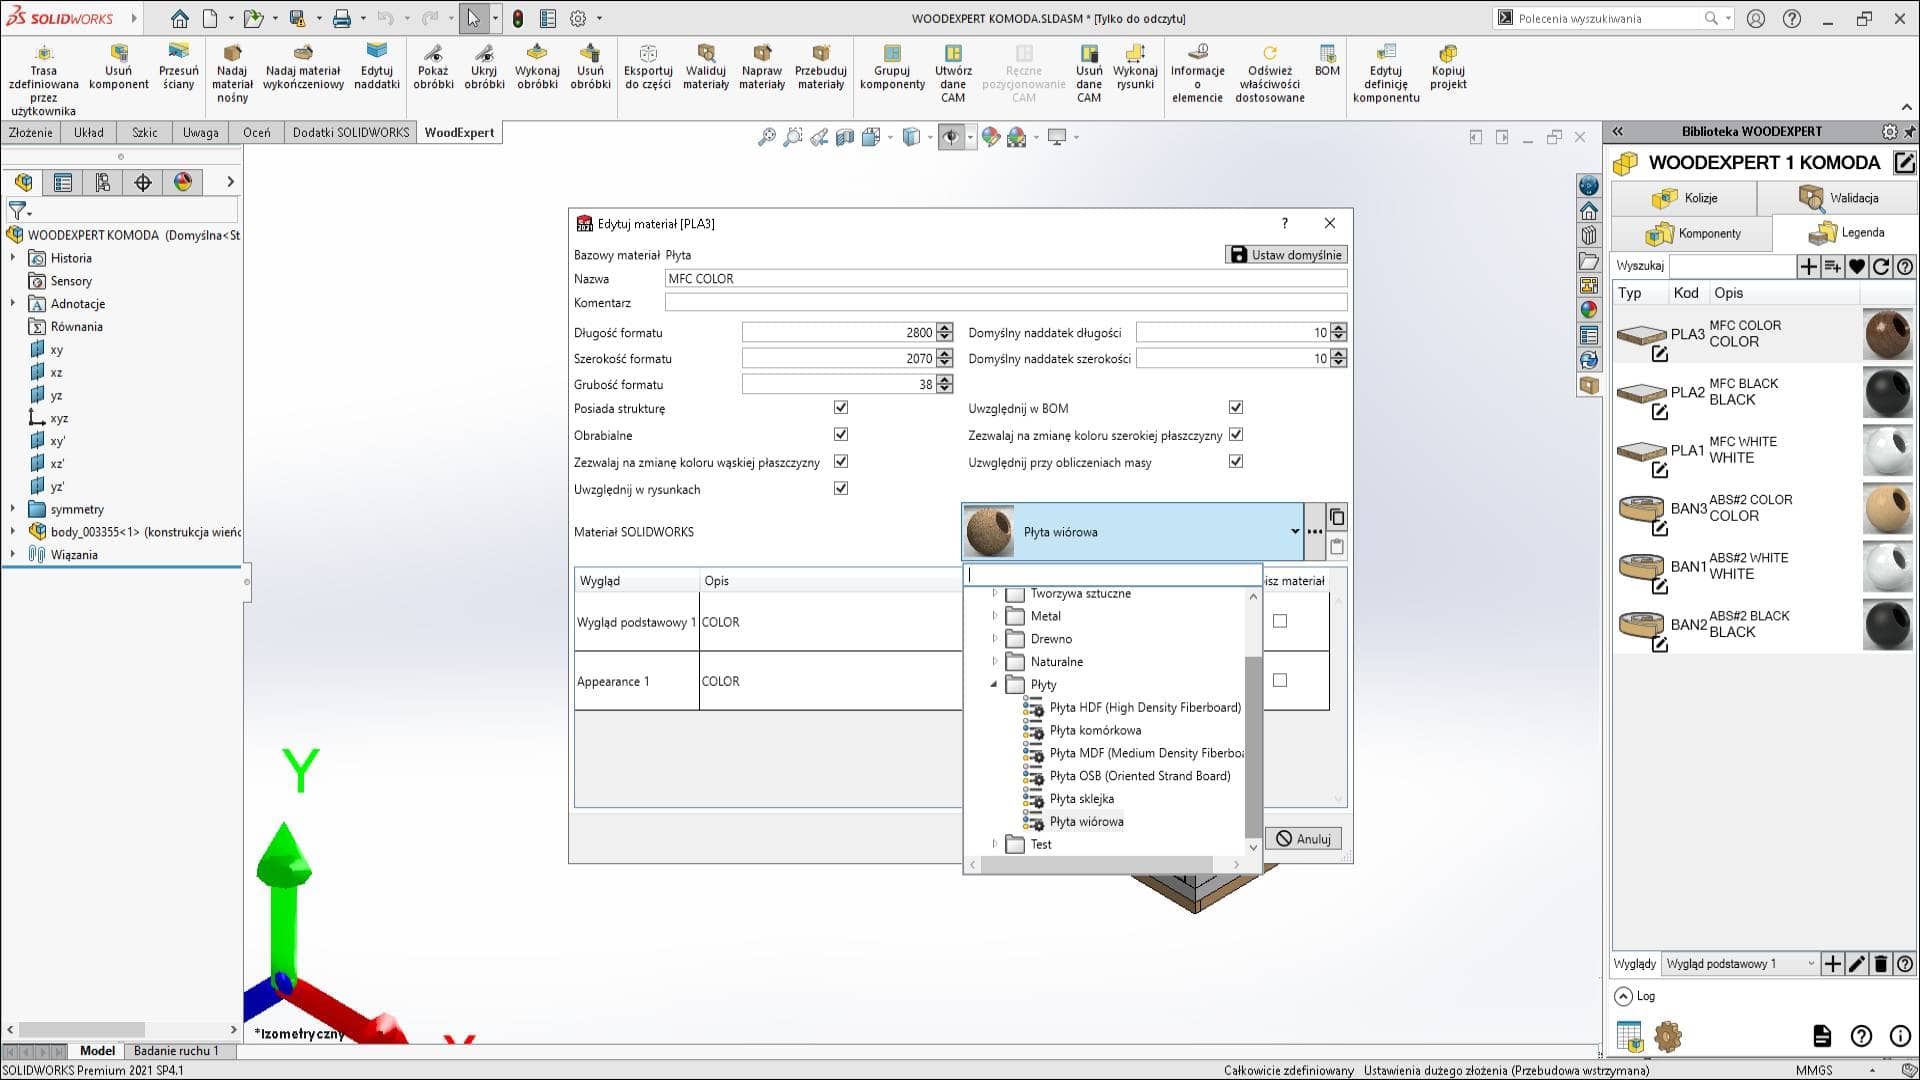
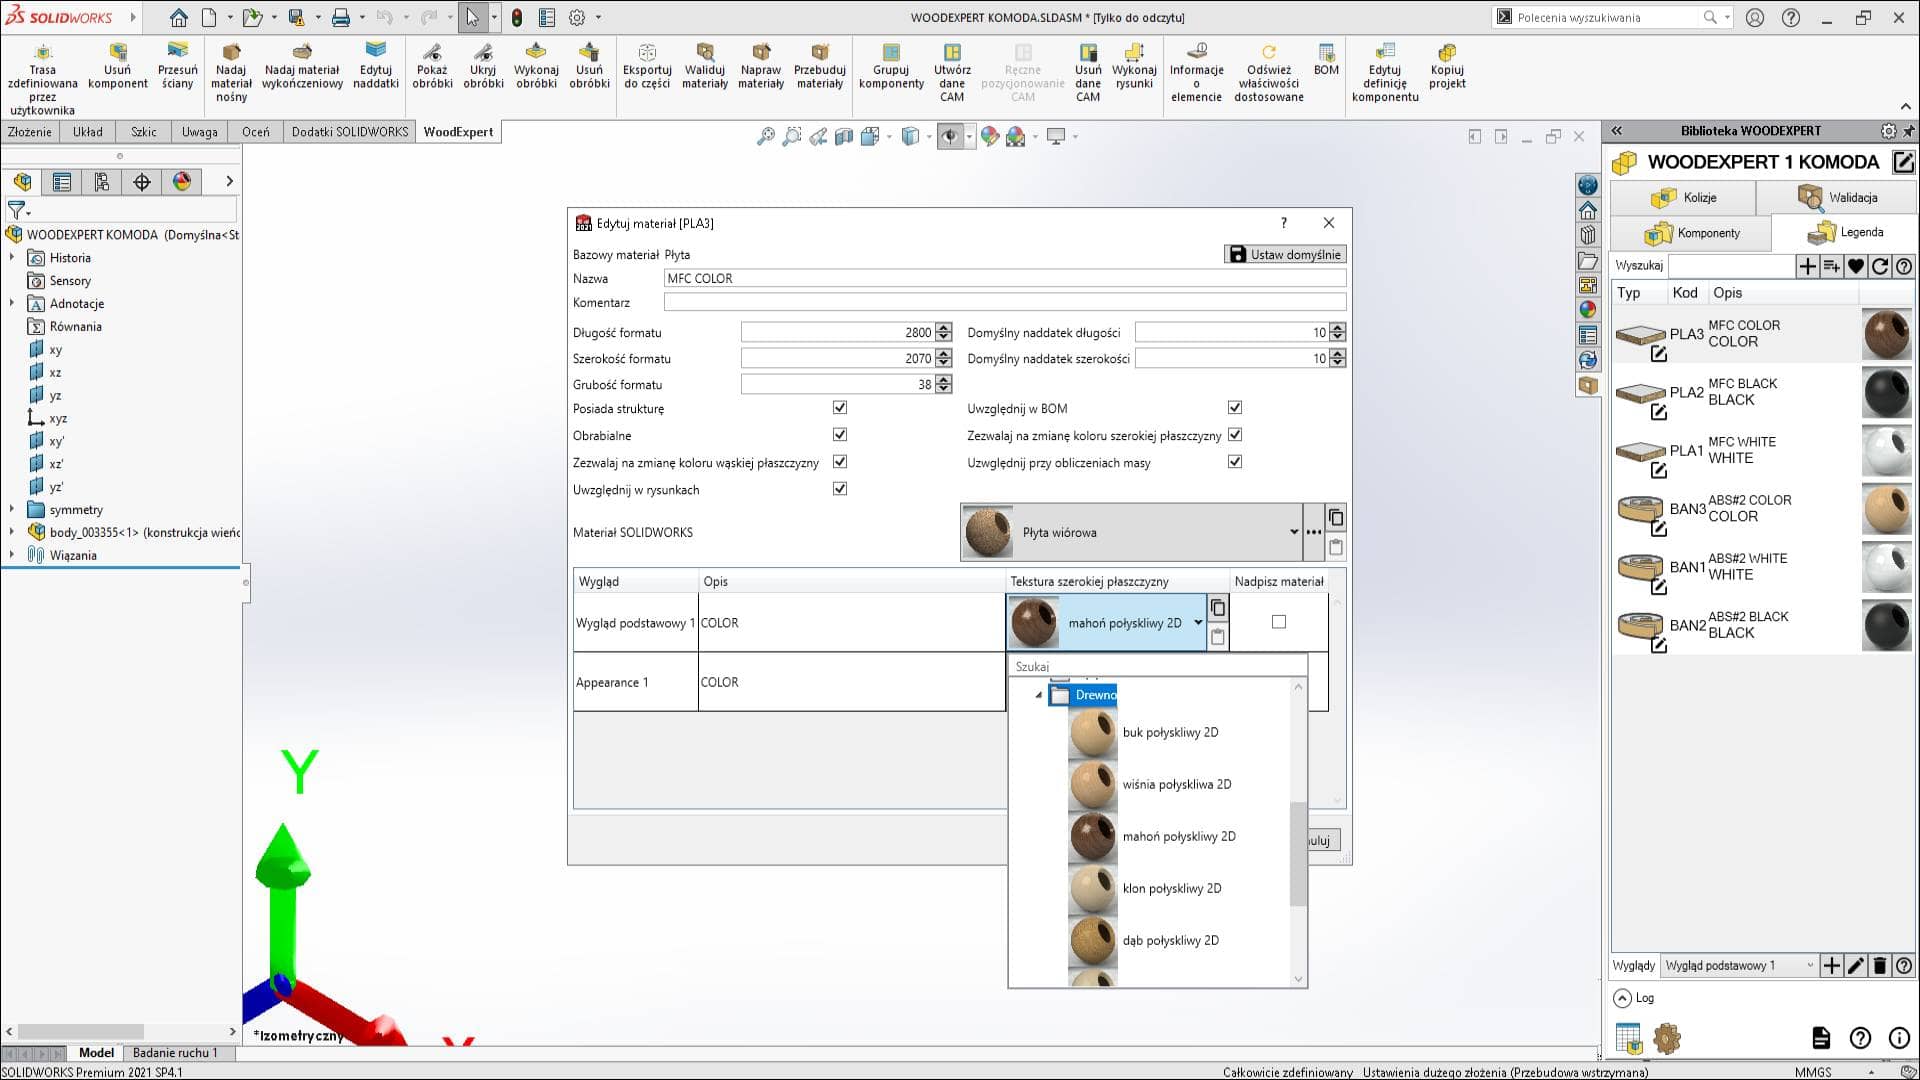
Apart from establishing material allowances in a design, the function of editing allowances in WOODEXPERT allows you to change material natural wood grain angle.
2. Use the perspective mode.
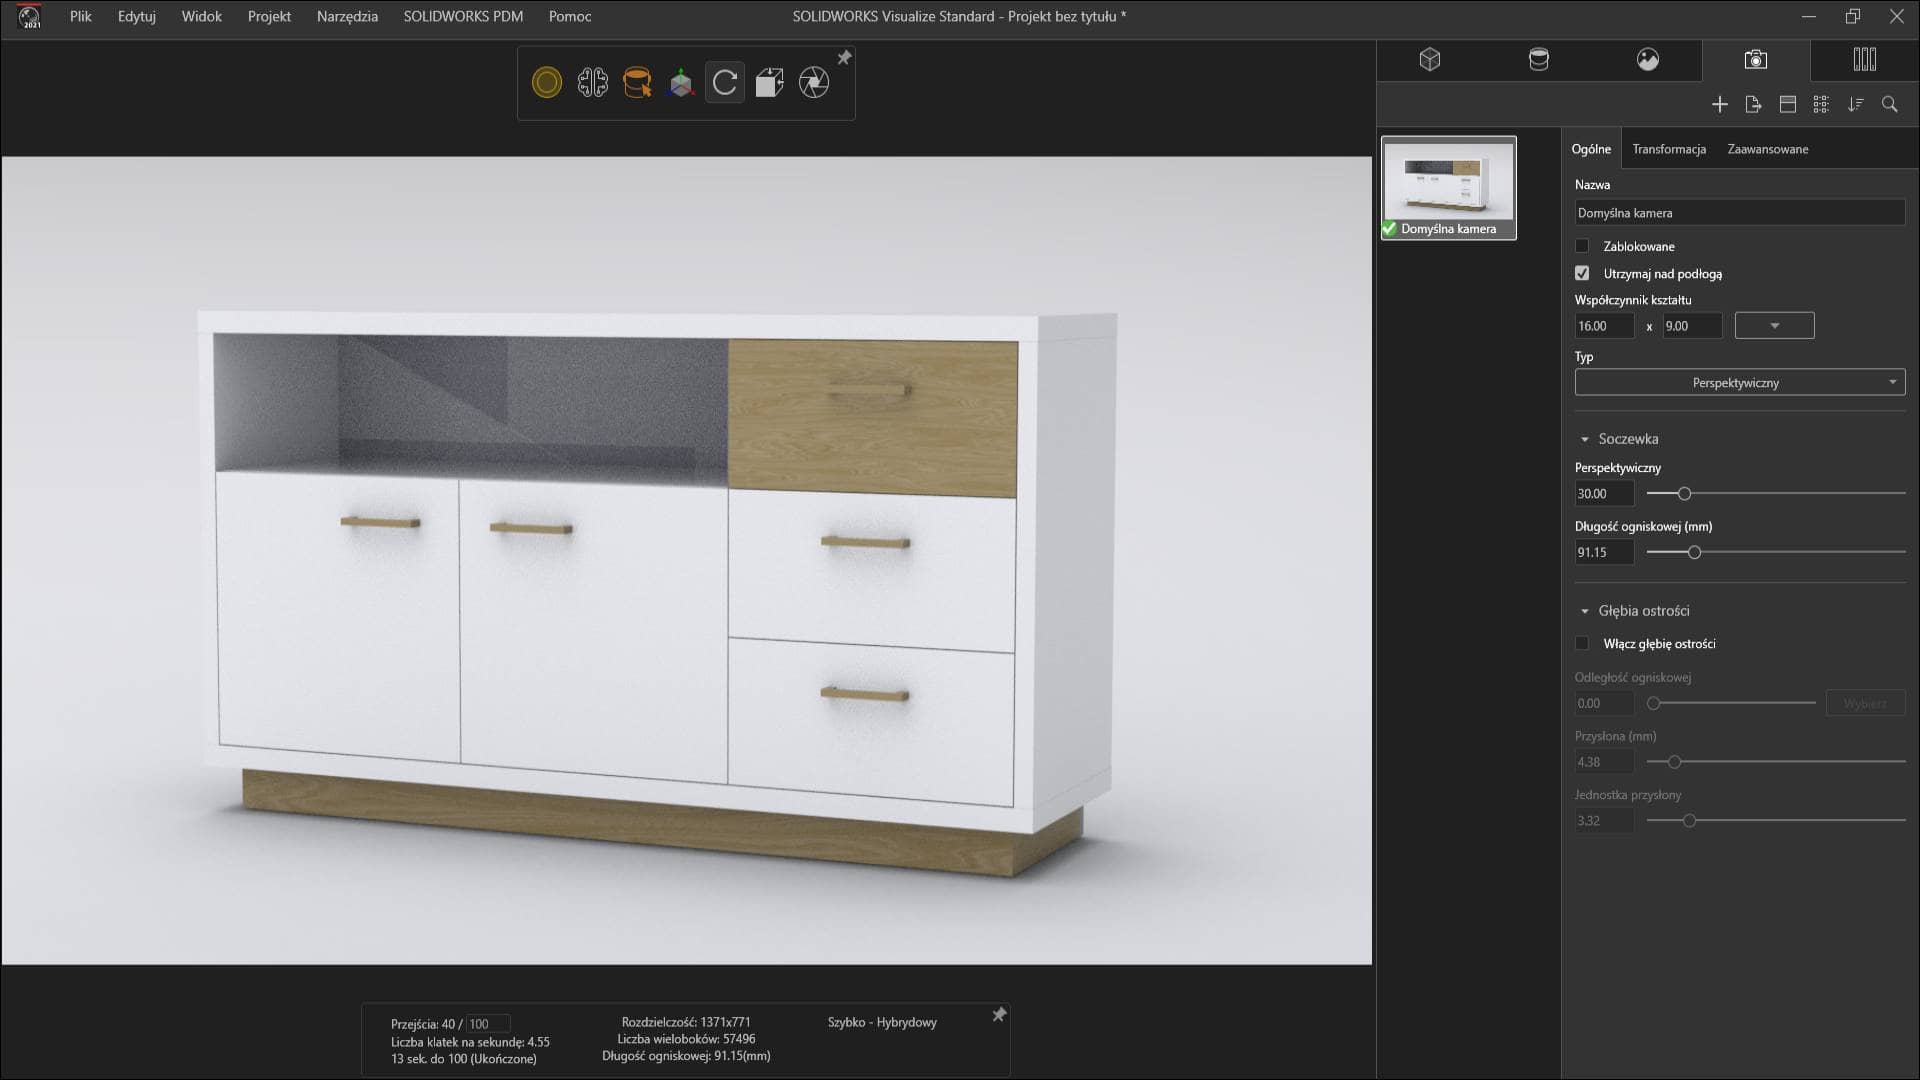
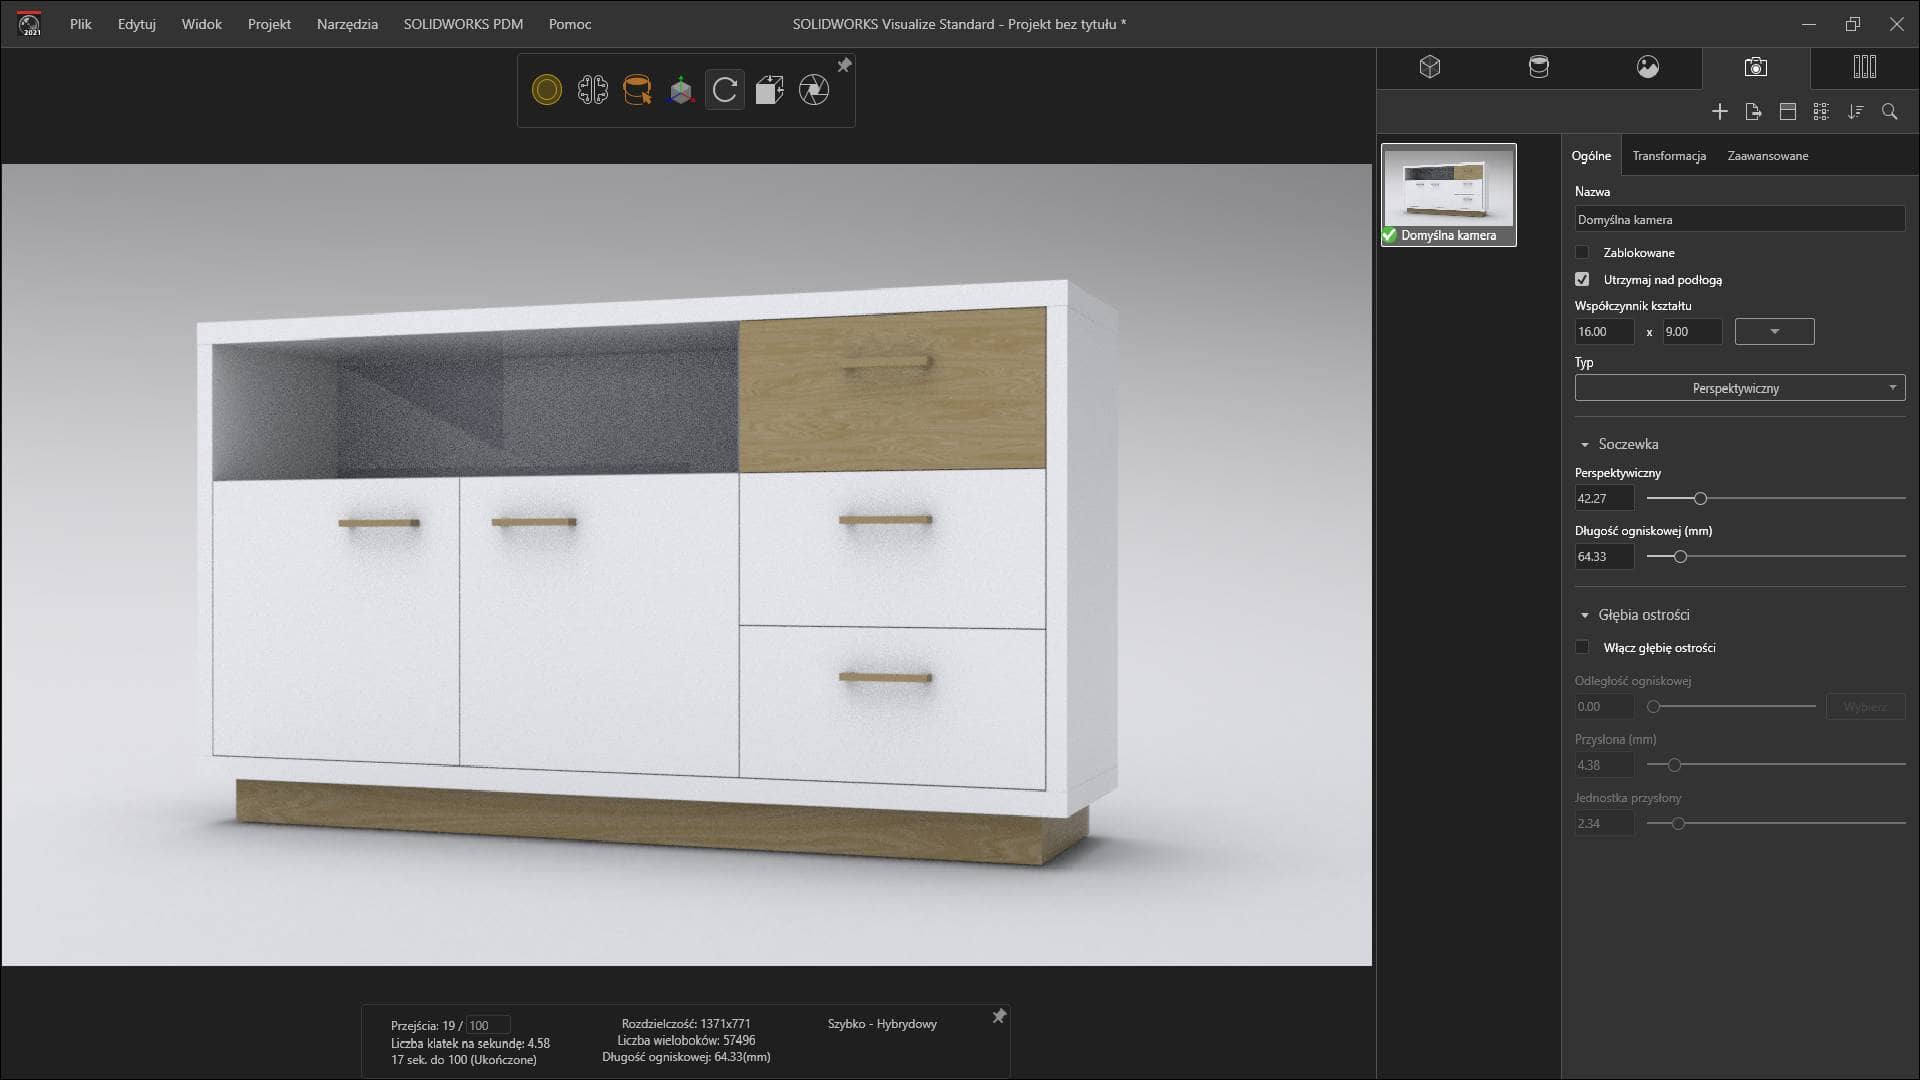
Proper setting of a furniture model translates into presenting proper proportions. With a correctly aligned perspective you can naturally read a 3D model on a flat surface. Let’s compare alignment on the basis of the examples below.
In this case, the perspective mode was not used. The perspective does not reflect the furniture potential, does not highlight its features, and does not raise the customer’s interest.
The use of perspective mode, the intensity of which is determined by a slider, immediately makes the view more attractive and allows you to notice the correct proportions and distribution of the material.
3. APPLY PROPER TEXTURE MAPPING
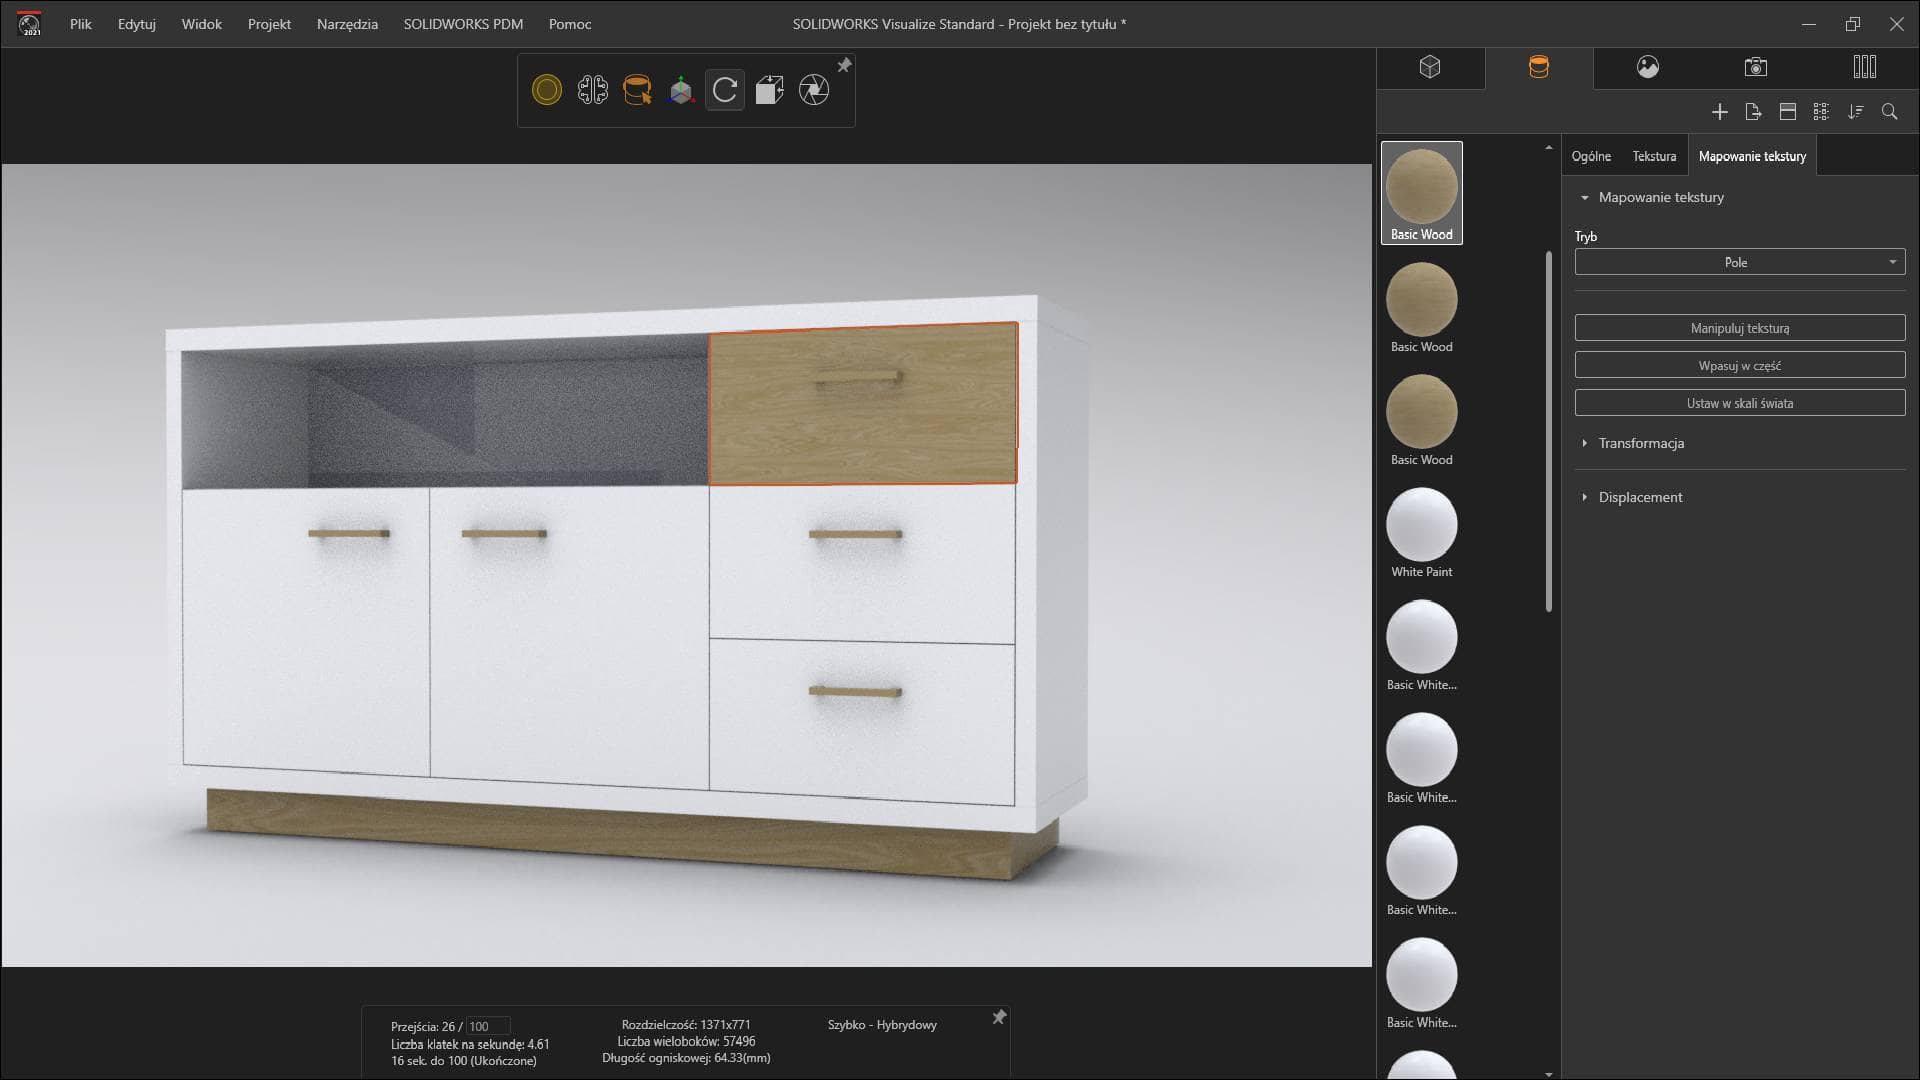
The aim of every visualisation is to reflect the character of a given model as close to reality as possible. Texture mapping with a proper configuration makes it possible to catch lifelike natural wood angle and recreate materials in relevant sequences.
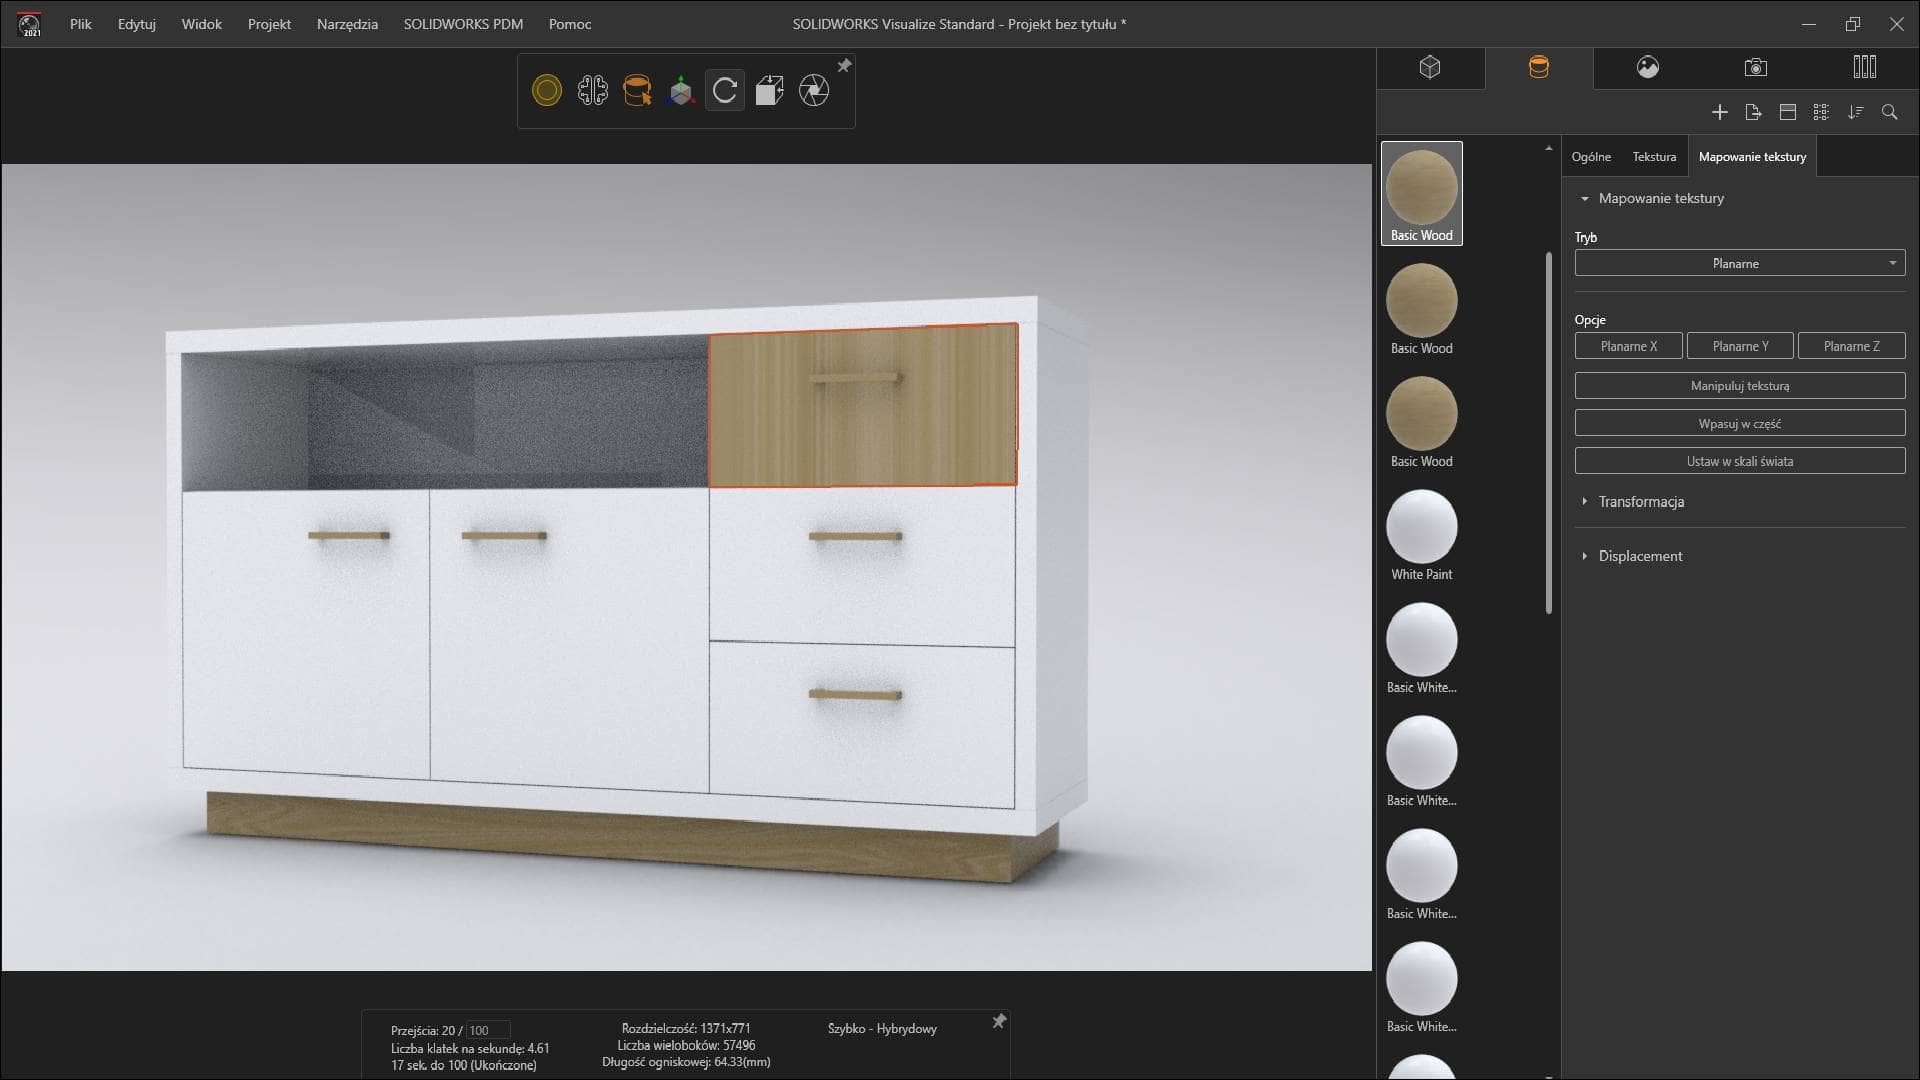
Quickly switching mapping modes in the “Looks” tab allows you to quickly select the right material proportions. Additionally, under the “Texture” tab, you can change texture rotation angle, specify dimensions and, if required, upload your own material.
4. ADJUST ENVIRONMENT FROM LIBRARY
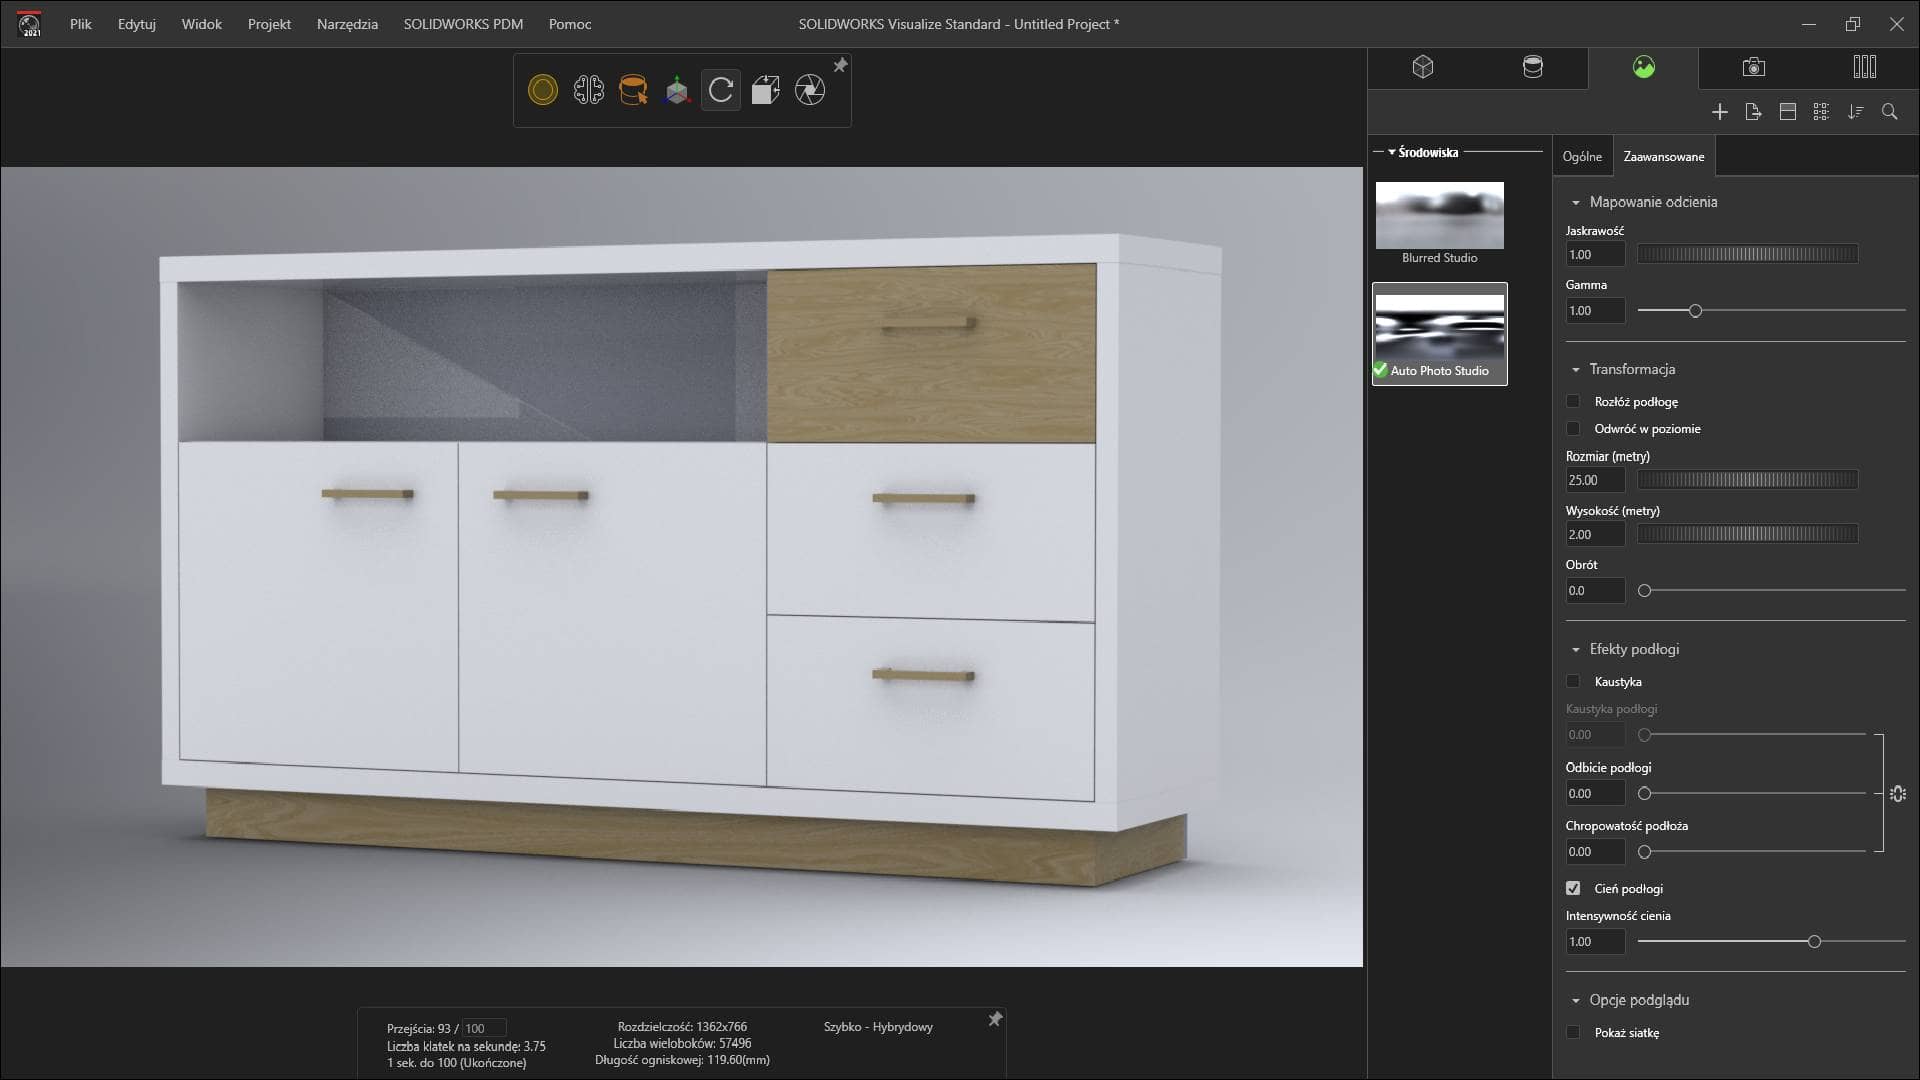
By setting correct lighting and background for a furniture model and deciding on adjusting settings of an environment selected from a local library or cloud, you will save a lot of time. With real-time preview, you can control environment settings using sliders. This ensures precise settings, with no random parameters due to software delays.
5. CHECK PROPORTIONS
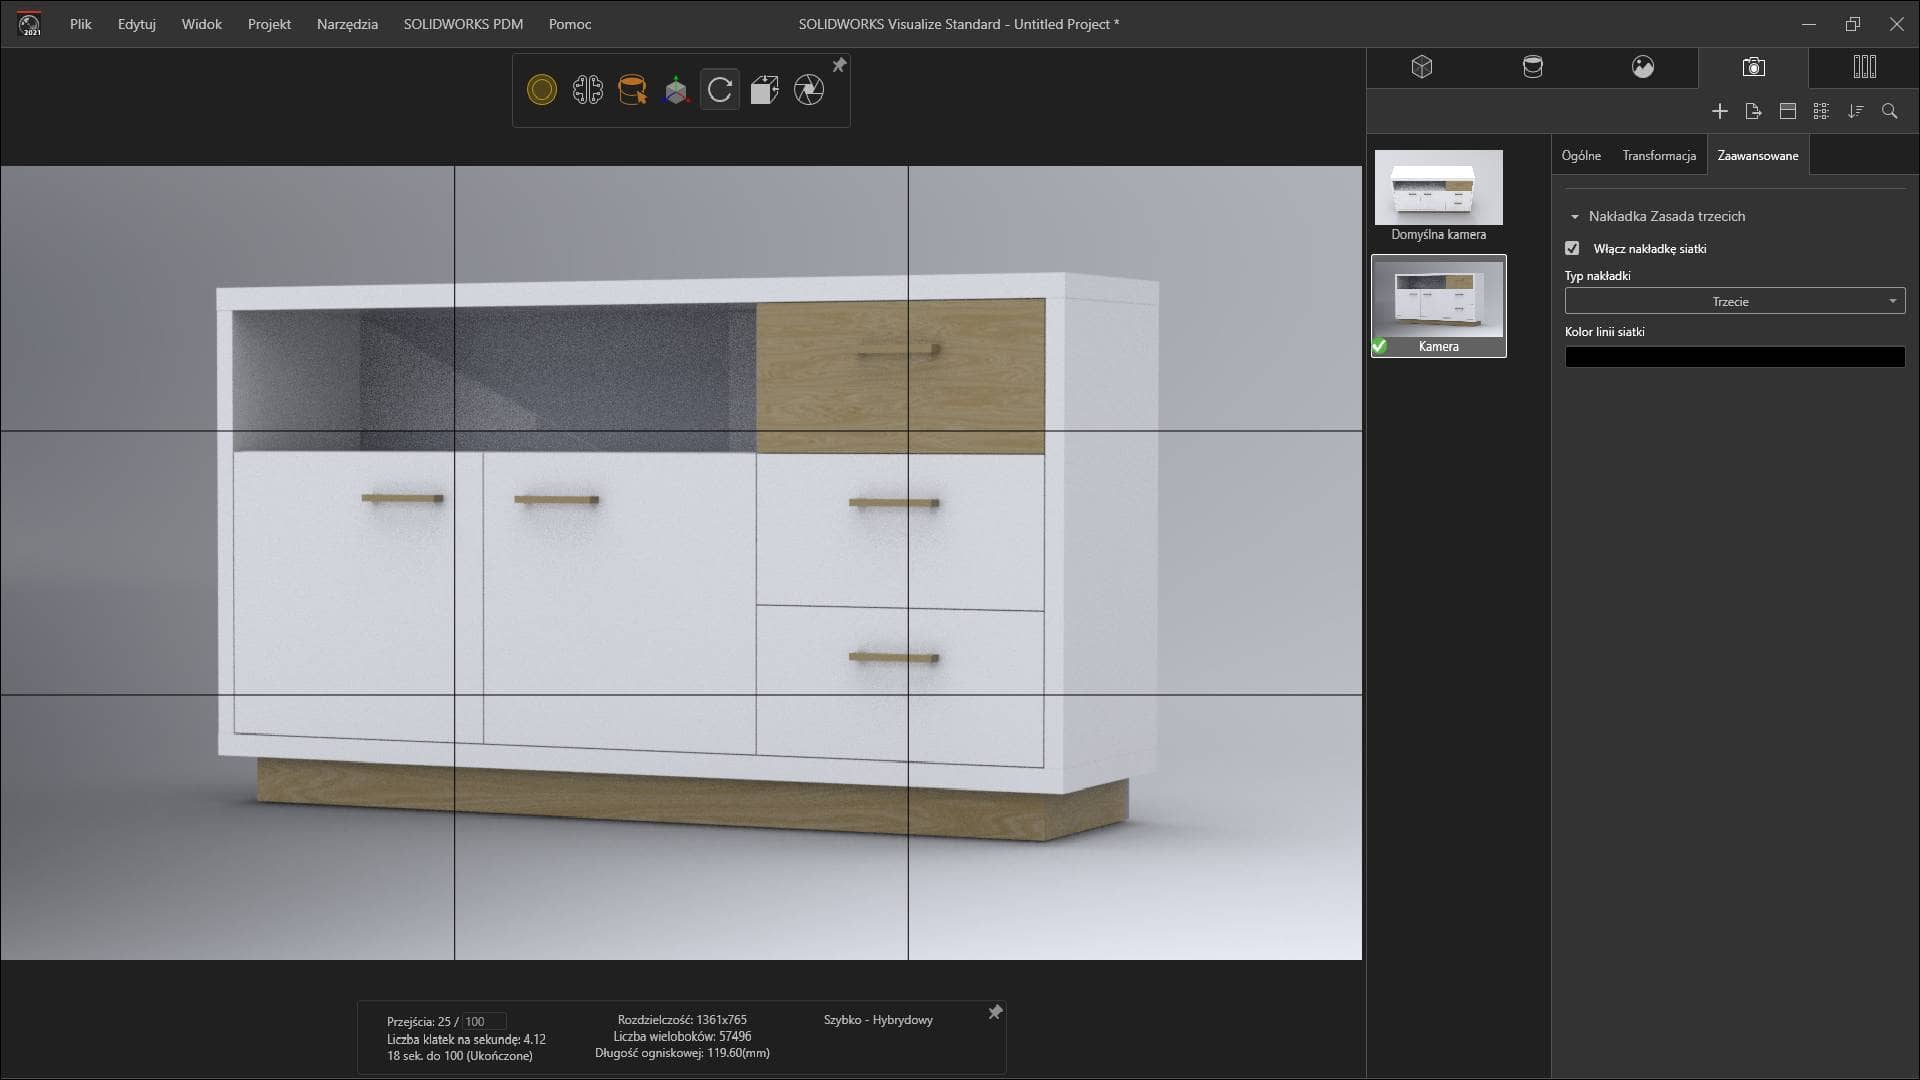
Controlling the aspect ratio of the visualization format will allow you to make the rendering even better for the client. To maintain proper distances within margins and to ensure the best model alignment, use the grid in the “Cameras” panel. By selecting the preferred division mode, you will notice errors in positioning before rendering.
I hope the above tricks will facilitate your furniture designing and rendering work. If you haven’t had a chance to try working in the most optimal CAD environment for furniture design and manufacturing so far, give WOODEXPERT a go. For those who will find the 30-day free trial period too short, we recommend checking out the special offer and term licenses (3 and 12 months).
Author: Ewa Gaczorek, WOODEXPERT specialist
Recent posts

In today’s market, to stay afloat, one has to keep up to date with newest technologies. There’s nothing wrong with being an artisan with a plane in one hand and…

You can also generate a bill of materials for the entire project with a single click. Our extended and improved BOM module has many possibilities for data acquisition: reports, catalogs,…

The drawing generator is something our customers love. Drawings can also be automatically generated working from a developer's projection. Don't miss to see how to create in seconds...a finished PDF…

The third tutorial in this series shows how to give supporting and finishing materials to a model: in an unconventional way. The method of building a material legend and surface…

In this tutorial, we present a quick and optimal way to model in WOODEXPERT based on a 2D projection. It involves inserting parametric furniture from a ready-made library based on…


